DIY: Tutu Dress!
Hi again!
Today I want to share with you how I made the Tutu Dress for my daughter's Princess Birthday Party.

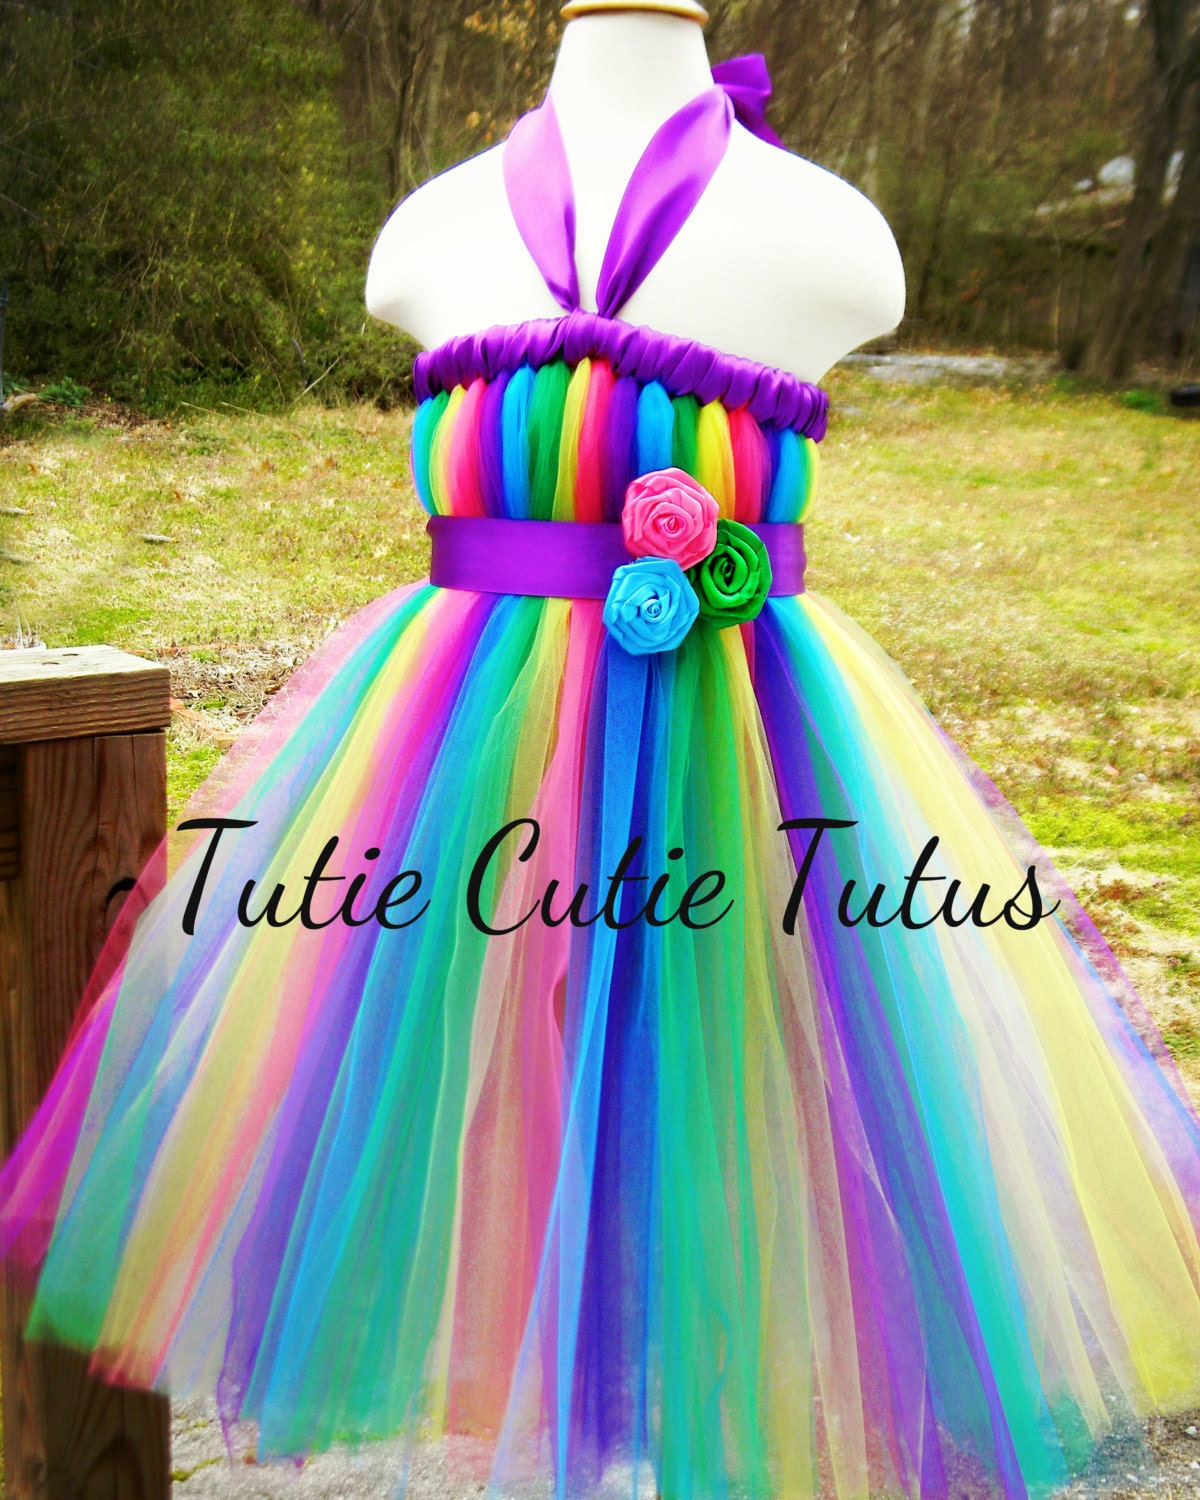
I was inspired by a beautiful Tutu that I saw online, and I watched hundreds of How-to videos for a Tutu Dress.This one is from Tutie Cutie Tutus (Click here to go to her Youtube channel), and I felt in love with it since I saw it!!
Here are the materials you will need:


For the final touch I made the bottom of the dress even using scissors and added beads to give it that shining princess look.

Today I want to share with you how I made the Tutu Dress for my daughter's Princess Birthday Party.

I was inspired by a beautiful Tutu that I saw online, and I watched hundreds of How-to videos for a Tutu Dress.This one is from Tutie Cutie Tutus (Click here to go to her Youtube channel), and I felt in love with it since I saw it!!
- Tulle, either by the yard or in spools in the desired colors. I bought mine by the yard, so I ended buying 2 yards of each but have in mind that if you buy the tulle by the yard you then have to cut it into stripes.
- Two sided Ribbon around 1"width. I used 1 yard of each (pink, green, yellow and blue for the flowers) and 3 Yards of purple for the straps, the top and the waist.
- Glue
- Elastic. You can use 1″ or 2" elastic. Be sure to get the elastic that says “non roll” on it.
- Rotary cutter or scissors
- Needle and thread
Measure the child’s chest, right under the armpit, as well as from the waist down to the point where you’d like your tutu to fall. My daughter’s chest is 20 inches, so cut your elastic at 16-17 inches having in mind that once you start adding tulle the elastic will stretch out and you don't want it too big. I then measured her from the chest and down and marked 12 inches long.
Using the needle and thread sew the 2 ends of the elastic to form a circle. It doesn't have to be neat as you will cover this with tulle later.
Cut your strips of tulle. If you buy tulle on spools it's easier because is already cut to a 6" inches width, which is perfect for this project. For the length of the tutu I measured 12 inches down but for the Tutu you need to cut strips that are twice the length of what you measured previously so the length will be 24" inches long. If you want to make a simple tutu instead, then reduce the length to about 10 inches (20 inches long).
Place the elastic around a paper towel while you attach the tulle. To add the tulle, grab a 6″ x 24″ strips and fold it in half. Take the center point and make a loop around the elastic and then pull the ends of the tulle through the hold you just made. Alternate the colors until all of the elastic is covered. You can also watch the video tutorial in YouTube from Sandy Bell for further clarification :)
Place the elastic around a paper towel while you attach the tulle. To add the tulle, grab a 6″ x 24″ strips and fold it in half. Take the center point and make a loop around the elastic and then pull the ends of the tulle through the hold you just made. Alternate the colors until all of the elastic is covered. You can also watch the video tutorial in YouTube from Sandy Bell for further clarification :)
Once all the tulle was tied, I then proceeded to wrap the purple ribbon to the top of the tutu.
This is pretty simple. Just measure how much you will leave for the ends depending if you are going to make a Halter dress or strap dress and start wrapping your ribbon around it.
I followed these instructions and again, they are pretty simple. In this case I wanted the dress to have the Halter look on the front but straps in the back for better support, so I left around 6" in each end and tied to the back.
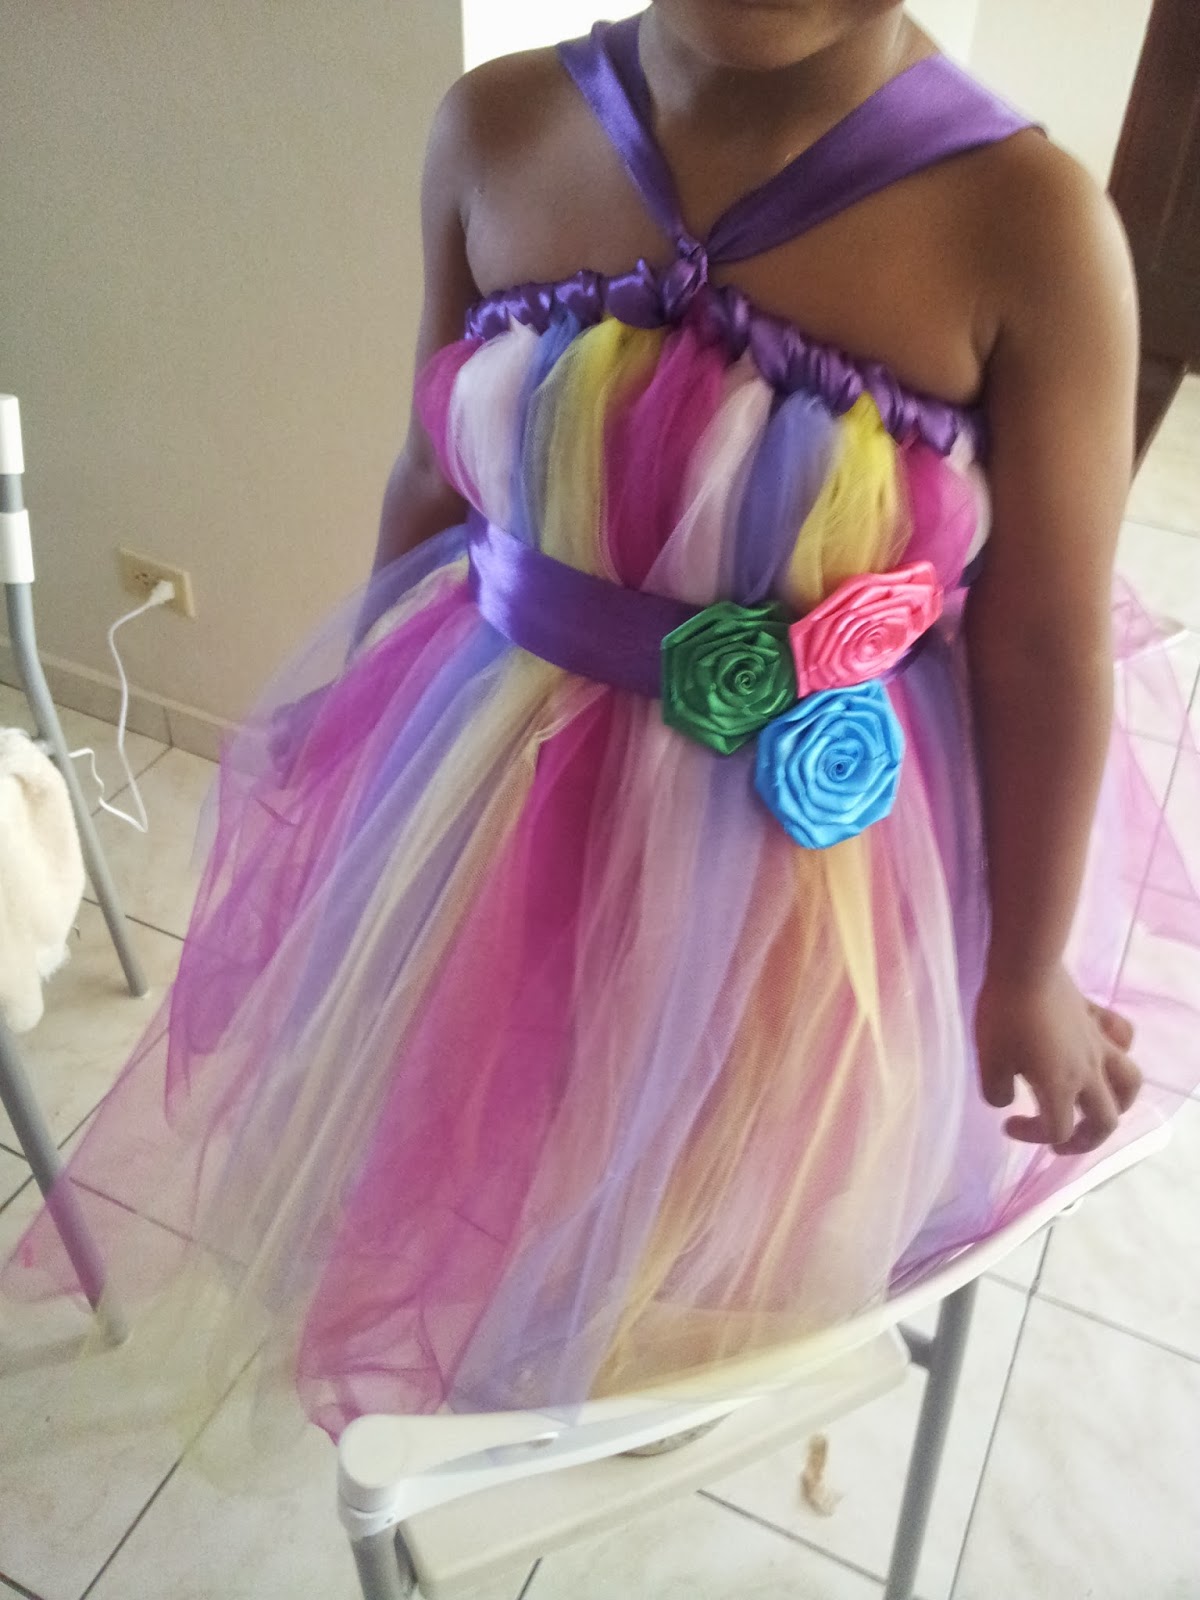
At this point you should have something like the picture above.
She was so happy with her Tutu dress during the fitting that she even cried when we told her that it was time to take it off!
For the roses, I followed this tutorial. Pretty simple, cheap and they look amazing! You can use this as embellishments for clothes or add it to a headband using hot glue.
I added a ribbon around the waist and glued it using the hot glue gun and finished at the back with a bow. I then glued the roses to the ribbon.
For the final touch I made the bottom of the dress even using scissors and added beads to give it that shining princess look.
And there you have a beautiful, cheap and stunning Princess Tutu Dress! She was so excited with her dress and looked absolutely gorgeous. I will be posting the pictures of the party later so you can have a better idea about the final look.
Hope you liked the post and if you decide to make one, please let me know how yours turned out. Dont forget to leave your comments!
Mage


Comments